Heat Pump Troubleshooting: A DIY Guide Before You Call a Pro
Is your heat pump acting up? Don’t panic! As an HVAC tech, I can tell you that many common heat pump problems can be solved with a few simple troubleshooting steps you can do yourself. This guide will walk you through what to check first before you make a potentially expensive service call. Alright, let’s get our hands dirty (safely)!
Key Takeaways
- Start with the Simple Stuff: Always check your thermostat settings and air filter first. These two items account for a huge number of service calls.
- Power is Key: A tripped circuit breaker is another common and easily fixed culprit.
- Clear the Air: Your outdoor unit needs to breathe. Keeping it clear of debris is essential for proper operation.
- Know Your Limits: This guide clearly defines the DIY-safe zone. For anything beyond these steps, calling a professional is the safest and smartest move.
Safety First! A Non-Negotiable First Step
Before you touch anything, locate your home’s main electrical panel (the breaker box). Find the breaker that controls your heat pump (it should be labeled “Heat Pump” or “HVAC”). Flip it to the “OFF” position. This is a critical step to prevent any risk of electric shock.
The DIY Safe-Zone Checklist
Work through these steps in order. You’ll be surprised how often one of these simple fixes solves the problem.
Step 1: Check the Thermostat Settings
This is ground zero. It sounds simple, but incorrect settings are the #1 reason for unnecessary service calls.
Thermostat Quick Check
Step 2: Inspect the Air Filter
Your system’s lungs! A clogged air filter is the most common cause of poor performance. It chokes the airflow, causing the system to work harder, less efficiently, and can even lead to it freezing up.

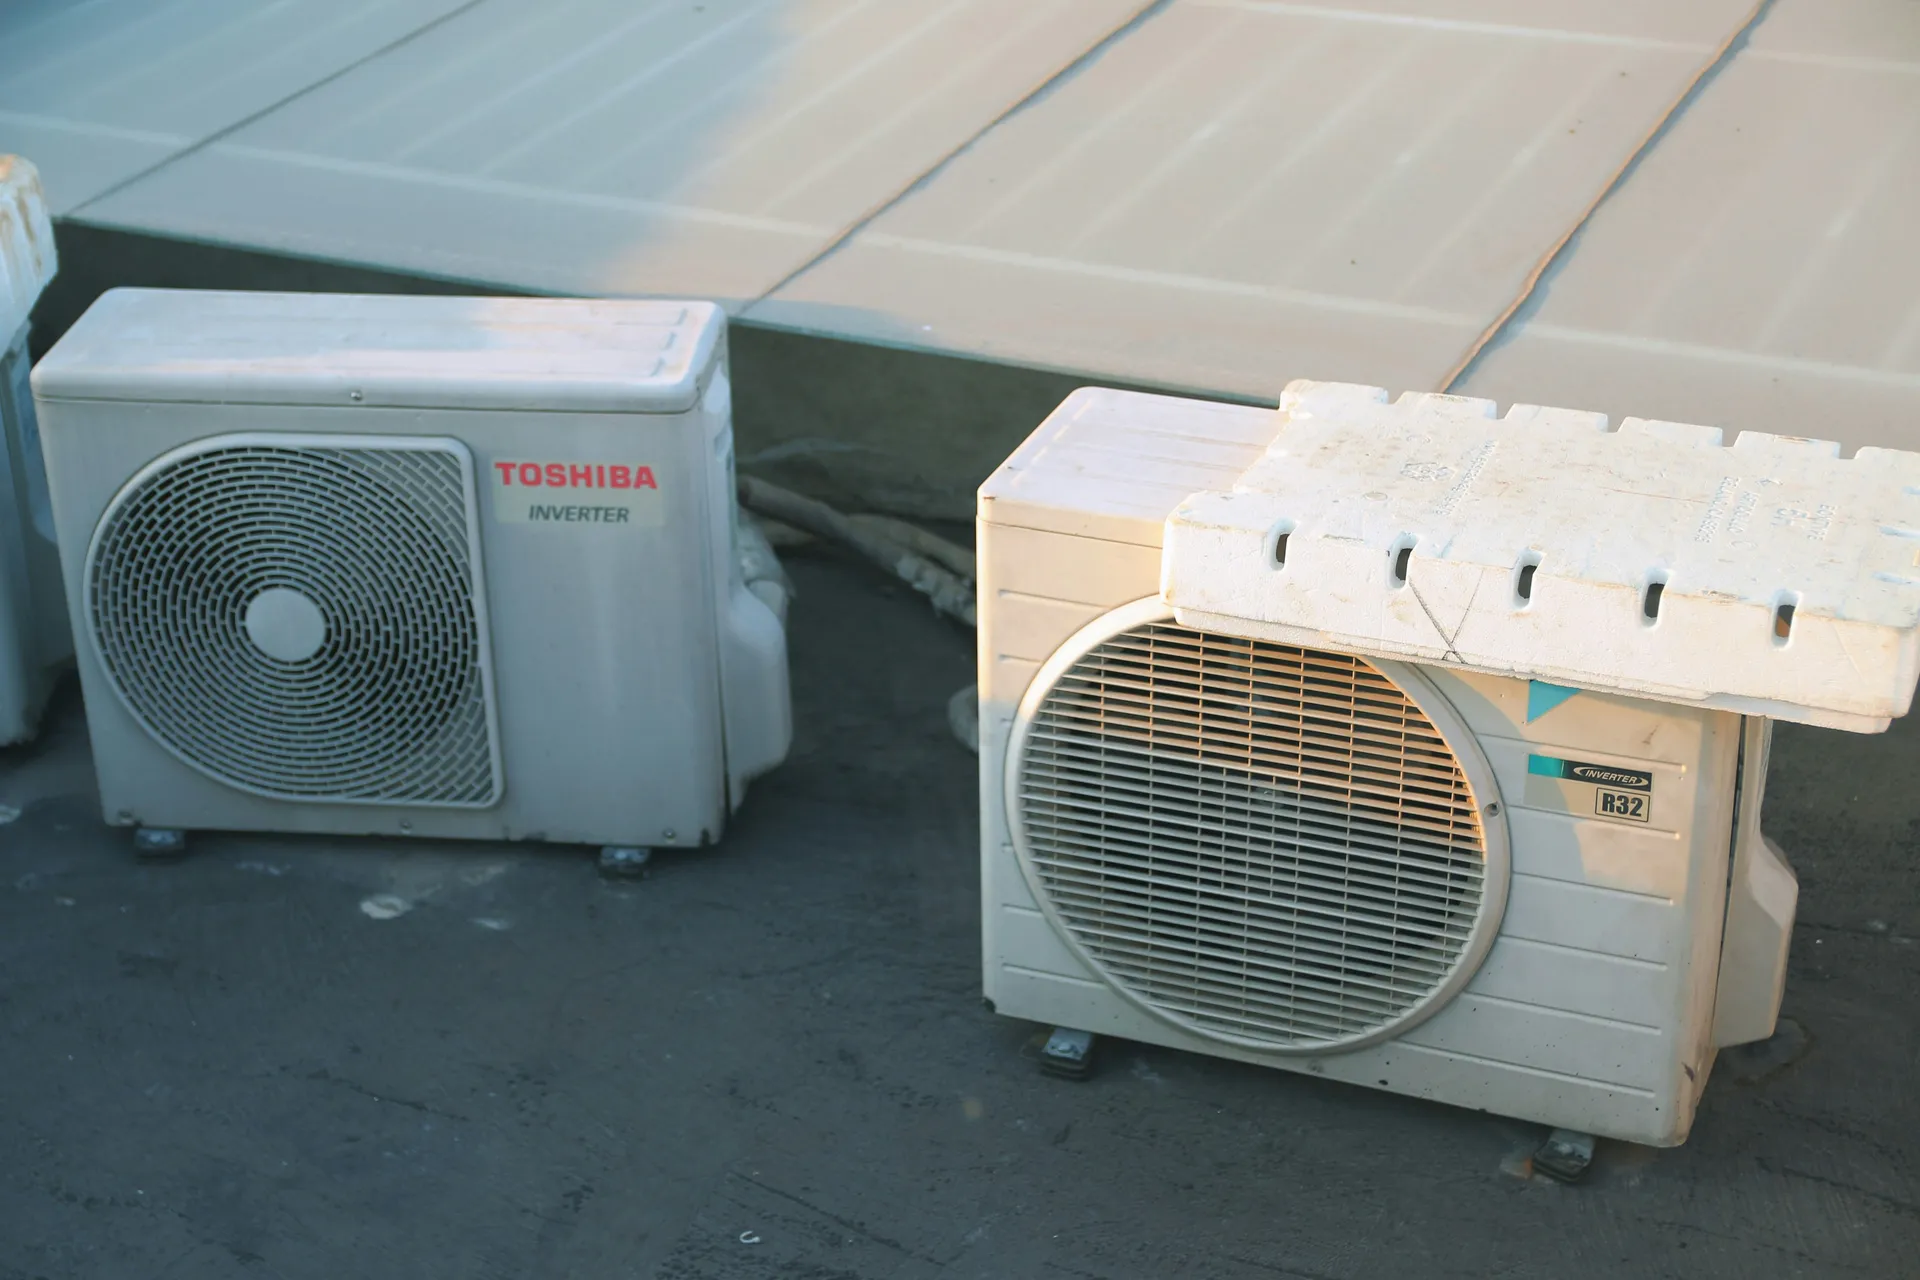
Step 3: Clear the Outdoor Unit
Your outdoor unit needs space to breathe. If airflow is blocked, it can’t effectively transfer heat.
- Remove Debris: Clear away any leaves, twigs, grass clippings, or weeds within a two-foot radius of the unit.
- Check for Obstructions: Make sure nothing is leaning against it or sitting on top of it.
- In Winter: After a heavy snowfall, gently brush away any snow accumulation from the top and sides.
Step 4: Check the Circuit Breakers
Sometimes the solution is as simple as a tripped breaker. Go back to your electrical panel. If the heat pump breaker is in the middle or “OFF” position, flip it firmly back to the “ON” position. Easy peasy, right?
Step 5: Check for Ice Buildup (In Winter)
It’s normal for a heat pump to develop a thin layer of frost during winter operation—it has a built-in defrost mode to handle this. However, if your entire unit is encased in a thick block of ice, that’s a sign of a problem. You can turn the system off to let it thaw, but this indicates an underlying issue that will require a professional.
When to Stop and Call a Pro
If you’ve gone through the checklist above and your system still isn’t working, it’s time to call a professional HVAC technician. Here are the signs that you are now outside the DIY-safe zone:
- Loud Grinding or Squealing Noises: These sounds often indicate a serious mechanical problem, like a failing motor or bearings.
- Frequent Short-Cycling: If your system turns on and off every few minutes, it points to a deeper issue.
- The Unit is Encased in Ice: While you can thaw it, the reason it’s freezing up needs professional diagnosis.
- You Suspect a Refrigerant Leak: If you see an oily residue on the copper lines or hear a hissing sound, you may have a leak.
From a safety perspective, refrigerant is a chemical that should only be handled by certified professionals. A leak not only impacts your system’s performance but can also be a health concern in enclosed spaces. If you suspect a leak, ventilate the area and call for service immediately.
These signs often point to complex issues like a failing compressor, a refrigerant leak, or a faulty capacitor. Never attempt to fix these yourself. Trying to do so is dangerous and can lead to much more expensive damage.
What to Expect: Common Heat Pump Repair Costs
If you’ve determined you need a pro, it’s helpful to have a ballpark idea of what to expect. The costs below are typical ranges for repairs performed by a licensed HVAC technician.
Typical Professional Heat Pump Repair Costs
| Professional Service | Typical Cost Range | Common Cause |
|---|---|---|
| Capacitor Replacement | $150 - $400 | System hums but won't start |
| Refrigerant Leak Detection & Recharge | $250 - $800+ | System runs but doesn't cool/heat well; iced coils |
| Condenser Fan Motor Replacement | $400 - $800 | Outdoor unit is silent but indoor unit runs |
| Reversing Valve Replacement | $450 - $1,000 | System stuck in heat or cool mode |
| Compressor Replacement | $1,800 - $4,000+ | System's 'heart' fails; one of the most expensive repairs |
Major repair ahead? When heat pump repairs approach $2,000+, it’s time to compare replacement costs. Use our AC unit calculator to evaluate modern heat pump options with better efficiency ratings.