Slab Leak Repair Cost: A 2025 Homeowner's Guide
Hearing the words “slab leak” can be one of a homeowner’s worst nightmares. The uncertainty about the damage and, most importantly, the cost, can be overwhelming. As a Master Plumber with over 15 years of experience specializing in these complex issues, my goal with this guide is to demystify the slab leak repair process and provide a clear, honest breakdown of what you can expect to pay.
There is no single fixed price for a slab leak repair. The final bill is a combination of detection, the chosen repair method, and the extent of any secondary damage. Let’s walk through it.
Key Takeaways
- Detection is the First Cost: Before any repair, a leak must be accurately located using professional equipment, costing between $250 and $700.
- Three Main Repair Methods: Your options are typically direct repair (jackhammering), pipe rerouting, or epoxy lining, each with vastly different costs and implications.
- Secondary Damage is a Major Factor: The total cost includes not just the plumbing fix, but also repairing the concrete slab, flooring, and any water-damaged materials. This is often underestimated.
- This is Not a DIY Job: Due to the complexity and risk of structural damage, slab leak repair is a job exclusively for licensed professionals.
Cost Factors: Why Do Slab Leak Repair Prices Vary So Much?
In my professional assessment, the final invoice for a slab leak job is determined by five key variables. Understanding these is crucial for managing your budget and expectations.
1. Leak Detection
The critical first step is always pinpointing the exact location of the leak. We use specialized electronic listening devices, thermal imaging cameras, and pressure testing equipment. This non-invasive process is essential to minimize the amount of concrete we have to break.
- Typical Cost: $250 - $700+
2. Repair Method
This is the largest variable. We’ll discuss the three main methods in detail below, but the choice between them will dramatically affect the final cost.
3. Accessibility of the Leak
Where is the leak located? A leak under an open-concept living room floor is far easier and cheaper to access than one located directly beneath a custom-built kitchen island with granite countertops that must be carefully removed and reinstalled.
4. Pipe Material
The type of pipe being repaired matters. Copper pipes, common in older homes, are susceptible to corrosion and require soldering or brazing. Newer PEX or PVC pipes are often quicker and cheaper to repair.
5. Secondary Damage Repair (The Hidden Cost)
This is the part homeowners often forget to budget for. The plumbing repair is just one piece of the puzzle. The total project cost must also include:
- Repairing the concrete slab that was opened.
- Replacing flooring (tile, hardwood, carpet).
- Repairing any water-damaged drywall or baseboards.
- Addressing potential mold growth.
The biggest mistake I see is homeowners focusing only on the pipe repair. The real long-term cost of a slab leak often comes from improper foundation repair. Ensure your contractor follows proper procedure for backfilling and patching the concrete to maintain your home’s structural integrity. A cheap patch job today can lead to major foundation cracks tomorrow.
The 3 Main Slab Leak Repair Methods & Their Costs
Here is a breakdown of the most common solutions. The costs below reflect only the plumbing repair itself, not detection or restoration.
Slab Leak Repair Method Comparison
| Method | Typical Cost Range | Pros | Cons |
|---|---|---|---|
| **Direct Repair (Jackhammer)** | $1,500 - $4,000+ | Permanent fix for the specific spot. | Extremely disruptive; high restoration costs. |
| **Pipe Rerouting** | $2,000 - $5,000+ | Avoids slab destruction; can upgrade pipe material. | Requires opening walls/ceilings; can be visually intrusive. |
| **Epoxy Pipe Lining** | $3,000 - $7,000+ | Minimally invasive; fastest method. | Not for all pipe types/damage; may not be a permanent fix. |
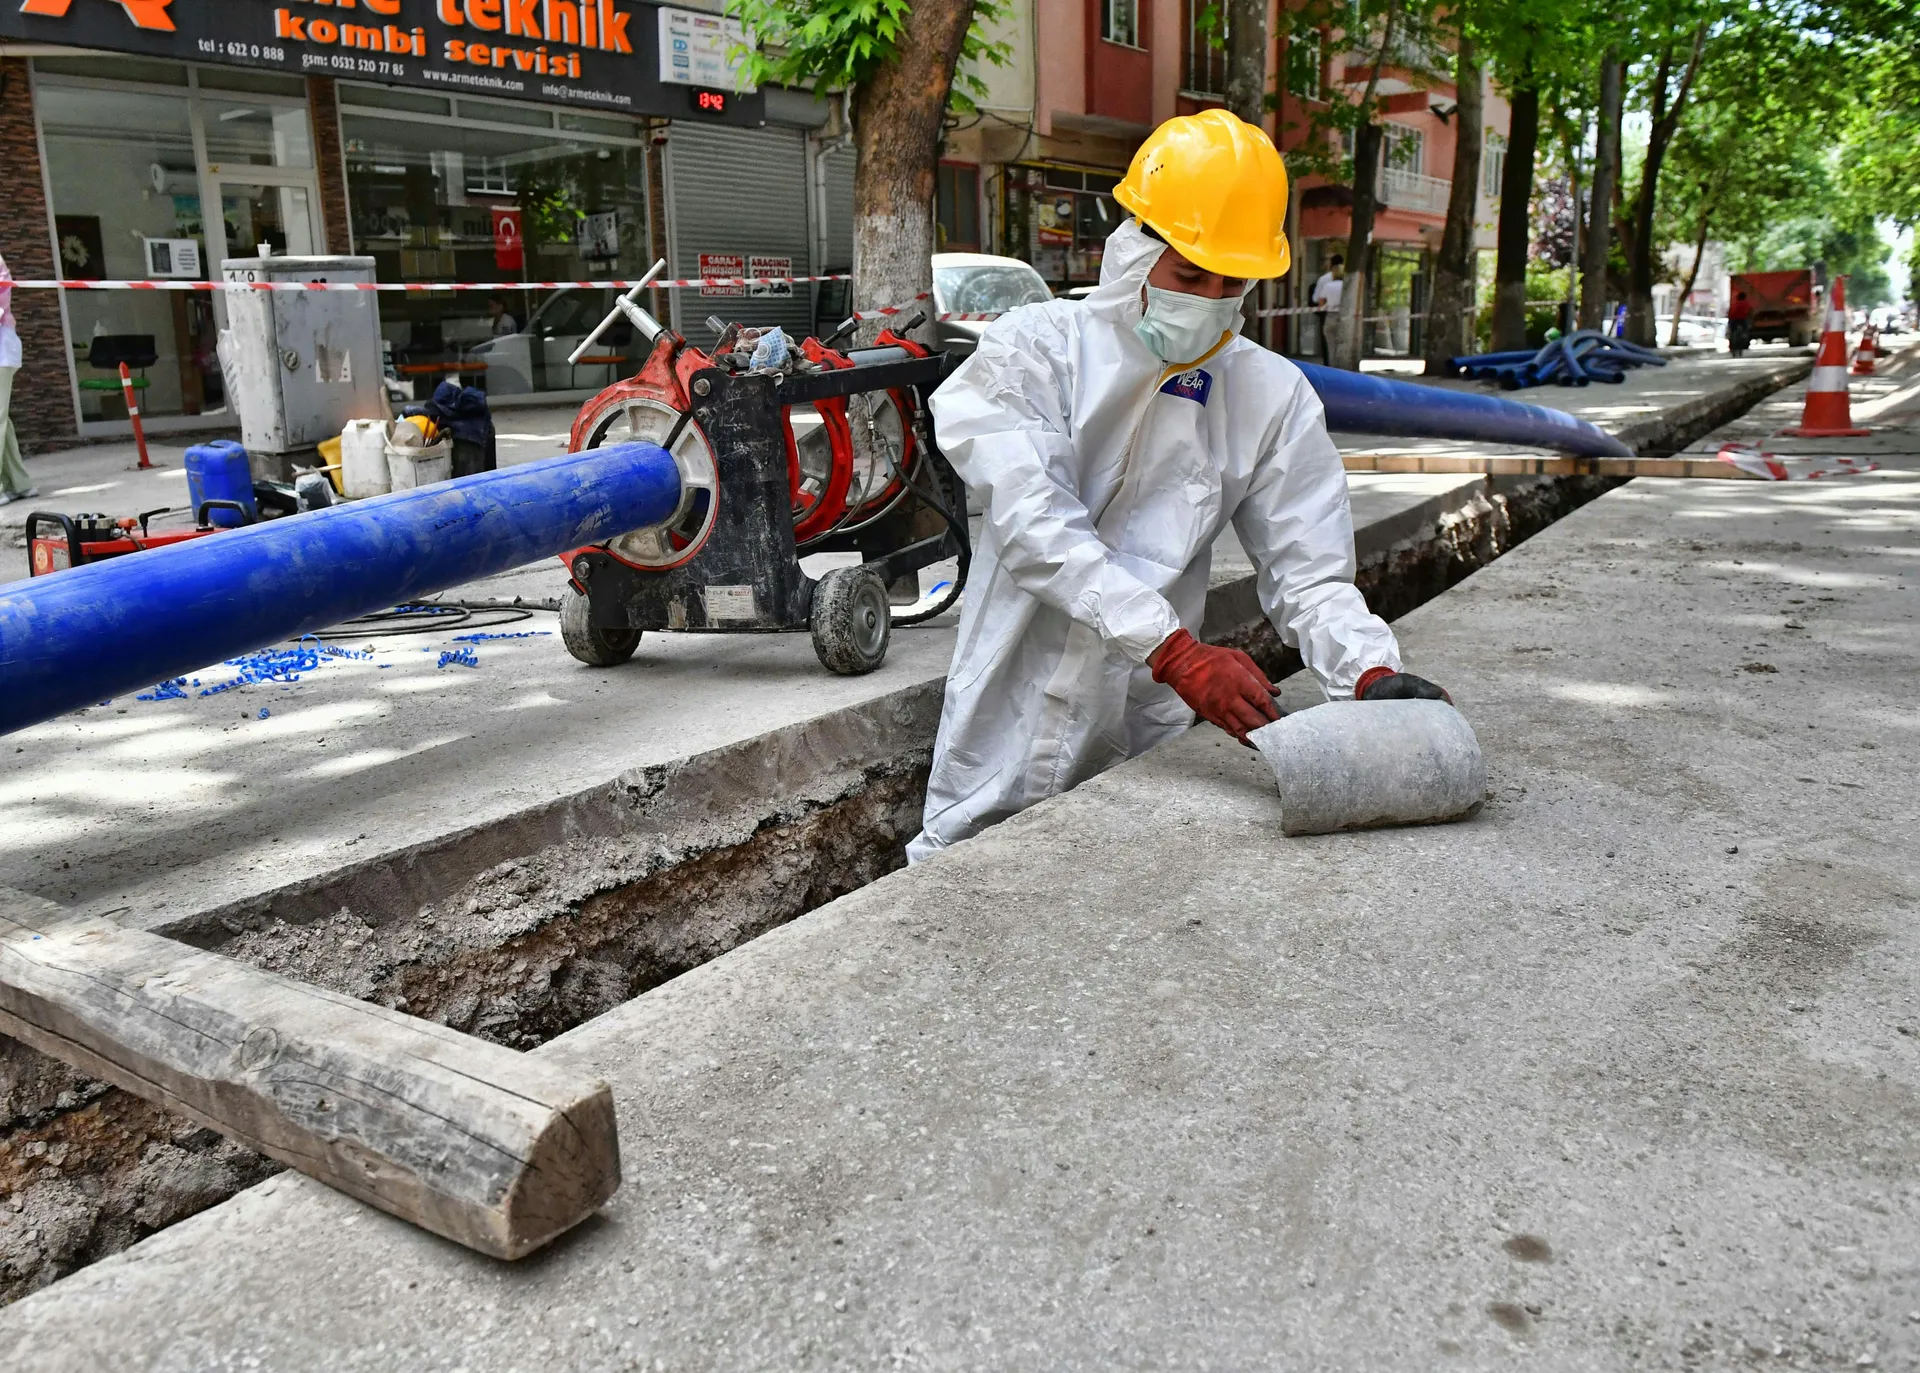
Method 1: Direct Repair / Jackhammering
This is the traditional, brute-force method. We open the slab directly over the pinpointed leak, cut out the damaged section of pipe, and replace it.
Method 2: Pipe Rerouting
Instead of going through the slab, we go around it. We cap off the leaking line at both ends and run a new pipe, usually made of durable PEX, through walls or the attic. This is often a great solution when the leak is in a very difficult-to-access location.
Method 3: Epoxy Coating / Pipe Lining
This is the most high-tech and least invasive option. We access the pipe from an entry point, clean it out with compressed air, and then blow a special epoxy resin into the pipe, which coats the interior and seals the leak as it cures. It’s like creating a new pipe within the old one. However, it’s not suitable for pipes with heavy corrosion or major breaks.
Consider a system upgrade? While repairing your slab leak, it might be time to upgrade old plumbing appliances. Use our water heater calculator to compare energy-efficient options that could reduce future plumbing stress.
A Note on Homeowner’s Insurance
This is critical: call your insurance agent immediately. Every policy is different, but a common scenario is that your policy may cover the cost of accessing the leak (e.g., breaking the slab and restoring it) and any resulting water damage, but it often will not cover the cost of repairing the pipe itself. Understanding your coverage is a vital first step.
Questions to Ask Your Insurance Agent
- “Does my policy cover the diagnosis and location of a slab leak?”
- “Is the cost to access the pipe (jackhammering and concrete repair) covered?”
- “What is my coverage limit for water damage restoration?”
- “Does my policy cover the cost of the actual plumbing repair?”

